

More Summer of '14 Projects
- sarahpetvet

- Jun 2, 2015
- 3 min read
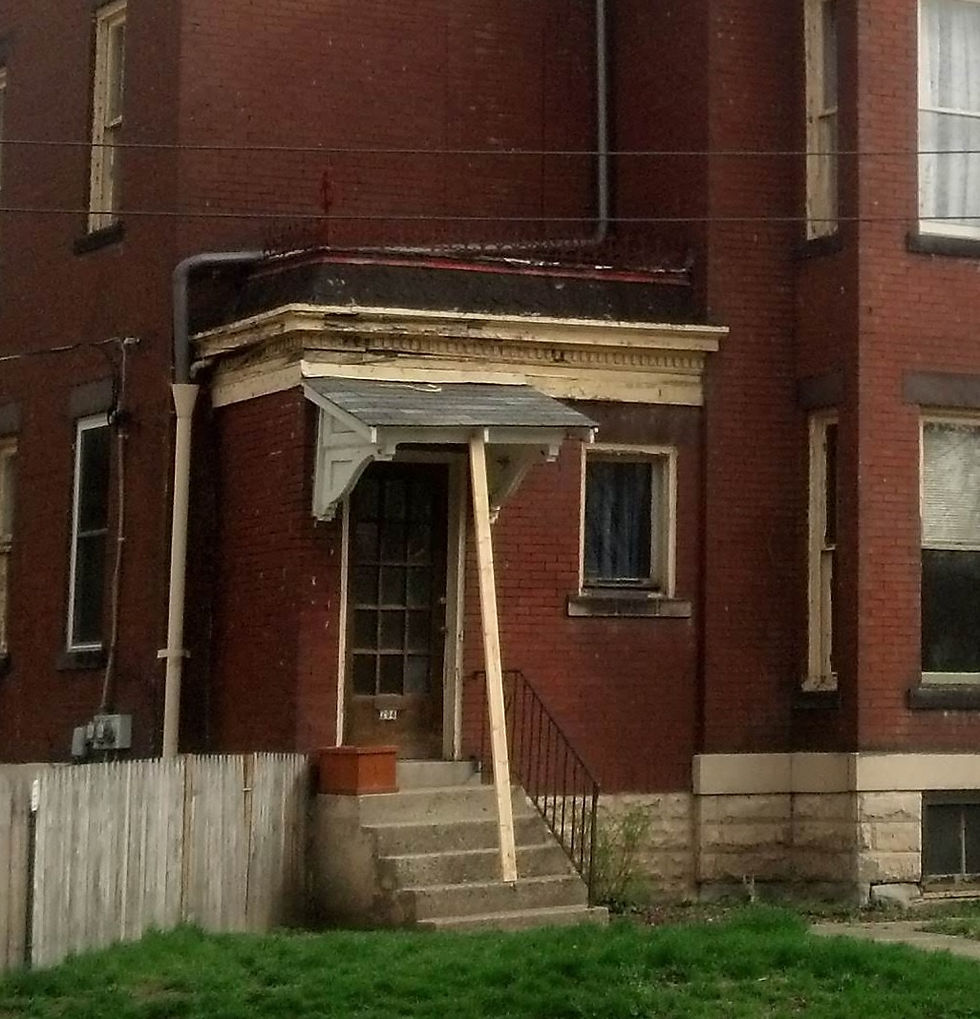
In between window repair and shingle fabrication, we had time for a few miscellaneous jobs.
First was the basement door. Rob had replaced the exterior doors the year before. They went from plain plywood painted gray to this...

But the interior door was drafty and had been cut inappropriately when it no longer fit the jamb very well. Of course we stripped it and rebuilt it. The door jam was also in need of repair, and Rob rebuilt that as well.

The repaired and stripped door was rehung. See the narrow, triangular shaped "wedge" on the right hand side of the door? The jamb was that much off square!

Check out the hardware! The lock is new, but the knobs and escutcheon plates are the original. Pretty nice for a basement door! And now it's significantly less drafty.
Speaking of drafts, the basement windows were a joke! Over the years, former owners had done a variety of crazy "fixes" in an effort to keep the basement drier. One school of thought seemed to be adding more soil to raise the ground level against the house. That meant the window frames were buried in the dirt, along with a portion of each window! And you know what that does to wood...

Here, not only is the window frame rotted, but the additional moisture has gotten between the foundation stones and caused the mortar to fail. More on that issue in a bit!
As an aside, the window sills are stone, and most all of them survived the years and submersion unscathed.
I talked about all the soil removal in an earlier article, and the new French drain has been doing its job for a couple of years now. So it's time to rebuild the window frames, repair or make new windows, and paint!

This is the same window shown above, but this time we're inside the basement looking out. The frame has been removed, and Rob will build a new frame using the existing window as a guide.
Here's the new frame!

Now the new frame is installed...

After window repair and paint...

Did you ever think a basement window could look so beautiful? And they are just as wonderful from the inside, bringing an incredible amount of light to our work spaces! Believe it or not, one of the toughest jobs was getting the baked on dirt off the windows!
Now, remember the missing foundation stones in the photo earlier in this article that demonstrated the rotted window frame? Can you pick out the replacements in the photo of this renovated window?
Replacing some of the crumbling limestone foundation was another project we tackled. I say "we" but really, my only job was to hold the garden hose when Rob needed to cut the large pieces of limestone.

Many, if not most projects we discuss over time and ponder the best solutions. Not this one. Rob just showed up one day with limestone wall stones from Lang Stone. http://www.langstone.com/
I didn't pay much attention but the next thing I know, he has cut a stone to size, chiseled the edges to emulate what has been in place for 124 years, and installed his handywork!

Here is a missing section. You can see the rubble interior basement wall.

In this case, the original foundation stone was still usable. However, two of the stones below it had to be replaced with newly fashioned pieces.
Here's another example...
Here's another example...


These foundation repairs are one of my favorites to this point! They are clever, economical, and they look great. And I feel better anytime a structure-related repair is completed!


Comments