

In Winter, A Woman's Thoughts Turn To...Fireplaces
- sarahpetvet

- May 9, 2014
- 4 min read
We are finally emerging from a long, cold winter! How the heck, with 8 beautiful fireplaces, can we have been so darned chilly? For starters, none of them are working anymore!
With heating bills topping out at over $400 for the coldest month, Rob was highly motivated to continue making storm windows with the hope that we can be a little less drafty next winter.
While he worked hard on those, my attention turned to the fireplace mantels on the second floor. While all four are painted, enough flaking had occurred on one to be able to detect nice oak under the paint. Since they would have to be stripped whether or not they would be repainted, I decided to strip what is to be the master bedroom fireplace and discover what's going on under all that paint.
I wondered at first if I could manage the stripping in a single weekend. But like everything, all projects take far longer than you might anticipate! Weekend after weekend passed as I struggled to remove many more layers of paint than I had expected. Still, I enjoyed this project very much.
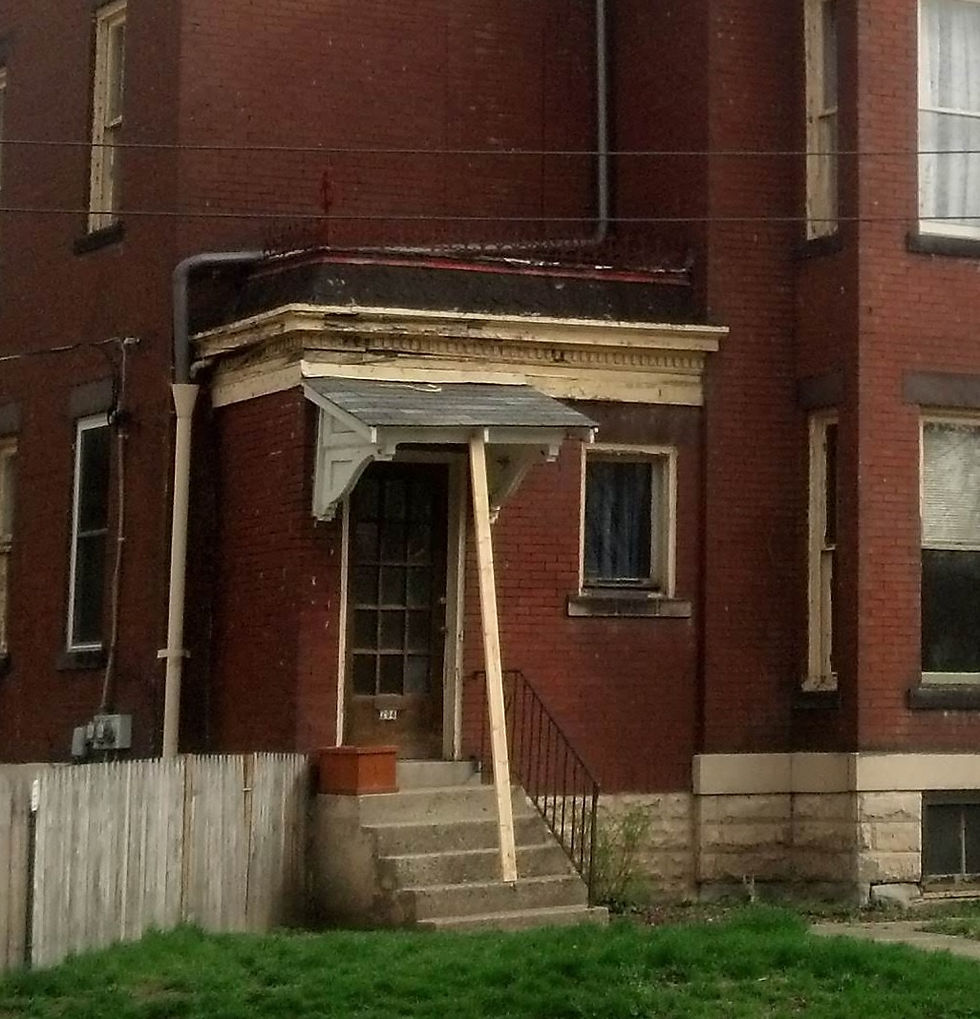
Here's the before...

In this photo, there is a piece of melamine covering the opening, placed there by a former owner presumably to help with drafts. This is the most elaborate of the second floor fireplaces, with three beveled mirrors and a pair of interesting carvings that are hard to discern in this photo.
I used heat to strip the vast majority of the surfaces.
The infrared stripper worked well on the flatter boards, but I needed the heat gun for crevices and tight corners.

I chose Citristrip for use around the mirrors because I was worried about high temperatures causing damage to the mirrors. I did use thin metal and cardboard along with painters' tape to protect their surfaces.

Heat does a great job on paint, but makes a gooey mess of shellac. And there was plenty of shellac covering all but a few tiny areas!
Once all the paint was removed, I used denatured alcohol to work on the shellac. It works very well, but I do have some cautionary advice.
After one of the first weekends that I worked with the alcohol, the palm and fingers of my right hand became quite scaly and I eventually shed a couple of layers of skin! Of course I wore gloves when using the alcohol, but that wasn't quite enough. I found that I could minimize damage to my hands if I slathered them with Bag Balm--a nice, heavy coating--then donned two pairs of latex gloves and finally, a pair of rubber-coated spandex gardening gloves. Once the rubber coating breaks down, it's best to replace the exterior gloves for better protection.
The denatured alcohol is easiest to work with if you dispense a few ounces into a small disposable container. I use the little flexible metal pans you can find at the grocery--the size you might use to make a mini meat loaf. These hold the standard fine steel wool pad nicely as well. Dip the pad in the alcohol, let the excess drain out, then "scrub" the shellac residue. Have a clean rag handy in your free hand to follow behind the steel wool and wipe away the dissolved shellac. If you don't wipe thoroughly, the shellac just rehardens in place. Eventually, the liquid will disappear from the small container and you will be left with a sludge. At that point, it's time to clean the container out and dispose of both the rag and the steel wool pad. Begin again!
Inevitably, you'll unmask some tiny paint specks and stubborn remnants in crevices. This is where dental tools are incredibly helpful. Dental probes and scrapers can't be beat for getting into tiny areas where paint can collect! Rob bought my collection at a local re-purposed tool store, but you can buy cheap versions on Amazon as well.
With every possible bit of paint and shellac removed, I did a light sanding with very fine sandpaper, then applied stain. The folks at our local Woodcraft store recommended General Finishes Gel Stain because I obviously had not only vertical surfaces to cover that might drip but the undersides of the shelving which would surely lend themselves to gravity's pull! I loved this product! It wasn't messy in the least, and it contains polyurethane so that you get a bit of protection even with the initial application. The only downside for me was that I felt the initial color I chose was too light once I had applied it to all surfaces. It was a great shade to show off the oak, but just a little too light for the period. Life is rough as a perfectionist.
So I re-sanded all of the surfaces--I felt that was necessary because of the polyurethane in the stain--and applied a darker tone. Perfect!

A word or two about ghosts: I really don't believe in them. We have been in this home for a couple of years, and I haven't seen even the smallest hint...until I worked on this first fireplace mantel.
I was working in the initial stripping of the highest shelf with heat. Suddenly, the strong scent of a fragrance filled the room. Those who have done much stripping with any method know that there are fumes associated, even with the gentlest of chemicals. Because it was winter and the house was closed up (as well as any Victorian is "closed up"), I did keep a window fan running while working. Still, there are fumes from the heat and the chemicals.
This fragrance easily overpowered other fumes. It was what I would call an "old lady fragrance." I worked behind a fragrance counter for several years, so I consider myself to have a trained nose. This scent was akin to really old perfumes, like Guerlain's Shalimar (yuck!). But how wonderful that a spirit from our home's past came to visit me on that Sunday afternoon!
I am a practical sort, and I know that many decades ago, a bottle of fragrance was likely spilled or leaked into the wood. But how nice to have this brief connection to the past, to a past soul who lived in this lovely room! And I feel fairly certain that "the spill" must have occurred before the mantels were painted...before 1920?


Comments