

How Many Windows Does This House Have Anyways?
- sarahpetvet

- Sep 9, 2013
- 6 min read
With the completion of the garage, we have a little more elbow room for storage and project work. While it's just a garage, it is a very pleasant space for woodworking. Rob has added a great deal of lighting, and the windows and doors provide nice ventilation. So...on to the next task!
Warm weather is the perfect time to begin window repair. And believe me, many of these windows need repair desparately! While Rob had done a ton of research on the "how to," we also attended a workshop that allowed both of us to do serious hands-on tasks.
I can't say enough about the workshops presented by the Columbus Landmarks Foundation! These folks do wonderful events to further interest in old homes and landmarks, including tours, literature, and these workshops which help homeowners like ourselves approach projects with better knowledge and skills. Even if you just love history, you should visit their website and check out all the opportunities to learn, laugh, and make new friends! http://columbuslandmarks.org/
The window workshop introduced us to two very important resources: Matt Wolf of Centennial Preservation Group (http://centennialpreservation.com/) and Alissa Ziemer of A-Z Window Restoration. Even if one feels like a total loser after a workshop (like I did after an earlier plaster workshop), at the very least you have found someone you can HIRE to do what you cannot! And if you feel confident in your newly learned skills, these individuals are always happy to answer questions and help you solve problems.
Window repair is perhaps the first big task where I felt I had a reasonable grip on the major components, their mechanics, and what had to be done in order to achieve a beautifully restored, working window--so much so that I can describe the process for you!
The window stop must be removed first. This is the narrow, long piece of wood that stretches vertically from the sill to the upper casing. It holds the lower sash in place and is either screwed or nailed to the jamb. Once removed, the lower sash can be freed once any existing ropes are cut.
A similar smaller piece of wood called the parting bead separates the upper and lower sashes. This must be removed to free the upper sash. We found quite a number of the parting beads were not in good shape and many did not withstand removal. Rob easily fashioned new parting beads to replace broken and rotted ones.

Once the shashes are removed, each has to be stripped of paint and varnish and the glass must be removed. We use an infrared paint stripper that uses heat to soften old finishes and is considered to be a safer option when used with lead-based paints. http://www.silentpaintremover.com/ While these strippers are fairly expensive, when you consider the number of liquid stripper containers you might purchase for such a large project and add in the absolute mess of liquids, I guarantee you will find the infrared stripper to be worth the money! The website also offers a number of specially shaped scrapers to facilitate removal of finishes from intricate moldings with curves and crevices. (In the photo above, Rob is using a heat gun to soften the glazing which holds the glass in place. The gun is definitely speedier and more efficient for hard-to-reach places, but there is a greater risk of fire--as a few of our neighbors will attest!)
Once the window sash is stripped and the glazing and glazing points are removed, the glass is set aside in a safe place. The sash then disappears into the basement where Rob begins serious wood repair. This part of window repair is definitely the most time consuming, but also the most critical for a crisp finished product. Many, if not all, of our windows have had angle plate corner braces placed in the sash corners to tighten failing joints. In the worst windows, where the bottom rail has completely separated from the stiles, Rob has fashioned pegs from dowel rods to substitute for rotted mortise and tenon joints. Where damage is somewhat less severe, he uses epoxy to fill compromised areas and to rebuild areas that have rotted away entirely. Why not replace rotted wood instead of repairing? It's impossible to find wood today that is able to withstand 100 years of weather!
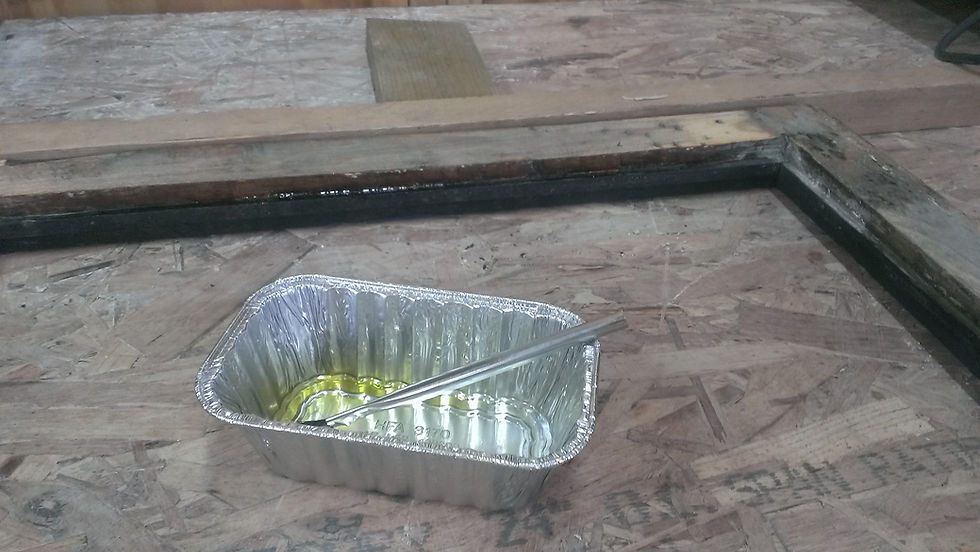
Once the epoxy has set and the window has been sanded, it's time to replace the glass that we removed earlier. I begin by applying linseed oil to the lip where the glass will rest.

Once the oil has been applied, follow with a small rope or "smudge" of glazing compound. We use Sarco Seal Type M glazing putty, which is oil-based. You knead the putty and apply by hand. It's sticky, and restoration experts recommend applying hand lotion prior to working with the putty to allow for easier clean-up. Once the putty bead is in place, lay the glass on top of the putty.

To properly seat the glass fully into the puttly, apply pressure to the glass. I move around the perimeter several times with moderate pressure until there is no more spreading movement of the putty on the glass surface. I stay fairly close to the edge of the glass when pressing down. I have broken one pane so far, though not at this phase of the process. I'm especially careful when I know I have an original window pane!

Once the glass is seated, I apply new glazing points with a gun, much the same as a staple gun. Then I turn the whole window over and remove the excess putty from the window surface.
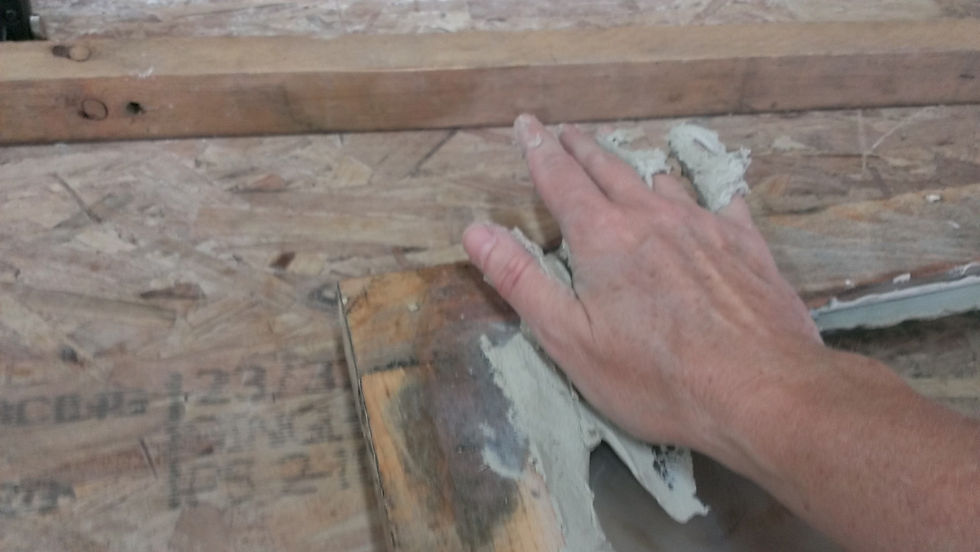
Turning the window over again, I apply the glazing putty to the outside edge of the window. Alyssa taught me the technique that works well for me. Once I knead the putty and warm it in my hands, I place the putty in my palm and push it firmly into the corner formed by the window and the frame. I move down each side, overlapping each application. Once I have made my way around the entire window, I am ready for the tricky part: removing the excess putty and creating the nicely angled and finished glazing surface.

Sounds easy, right? This is probably the point where I have uttered the most explatives. I use a flexible putty knife, and I usually keep both hands on the knife, one on the handle and the other on the knife itself. I apply quite a bit of pressure so that the knife flexes as I draw it toward me. (I also hold my breath, but that is not a requirement.) For large windows, it is difficult to draw the knife the entire length of the sash without pausing, shifting my weight, or making some other adjustment that invariably messes up the surface of the putty. The putty also seems to be temperature sensitive. In the heat of the summer, it was extra sticky and wanted to slip during this final step. Now that the weather is colder, the putty can be too stiff and easily tears under the pressure of the knife. I guess the good news is that the putty can be removed and reworked as many times as necessary to achieve a pleasing look.
Initially, my angles were all too shallow and wide stripes of glazing were visible from the inside of the window! Ideally, you would want the glazing to be invisible from the inside of the window, and I'm getting better at this. I have found that I can make second and third passes with the putty knife to improve the angle and smooth small imperfections.
One terribly important lesson I learned came after my initial experiences with the putty. There was a period of a few weeks where I didn't use it and a film of oil dried on the surface of the putty in its container. In hindsight, I should have cut this film off the surface. I did not, however, and I ended up with tiny little chunks of the dried oil in my putty. These chunks gave me fits as I tried to cut a nice smooth angle! In an effort to solve this problem when closing up my window restoration shop for the winter, I removed the putty from its container and stored it in several small lumps wrapped in Saran and stored in quart sized plastic bags. We will see what transpires over time.

Once I decide I am happy with my glazing, I apply whiting powder to the putty to help it cure in a more reasonable time frame. I shake on the powder with a small brush and immediately brush off the excess. I usually wait a few days to paint over the putty, though oil based putty won't fully cure for a month or more.


Comments